Northern Lights Camera Settings: The Cheat Sheet I Use on the Ice
Every aurora night comes down to three dials and one decision: how fast is the sky moving. This is the settings reference I would want printed on a card in my pocket at minus 30.
 Written with Thomas Beaulieu, Yellowknife tour guide & northern lights specialist
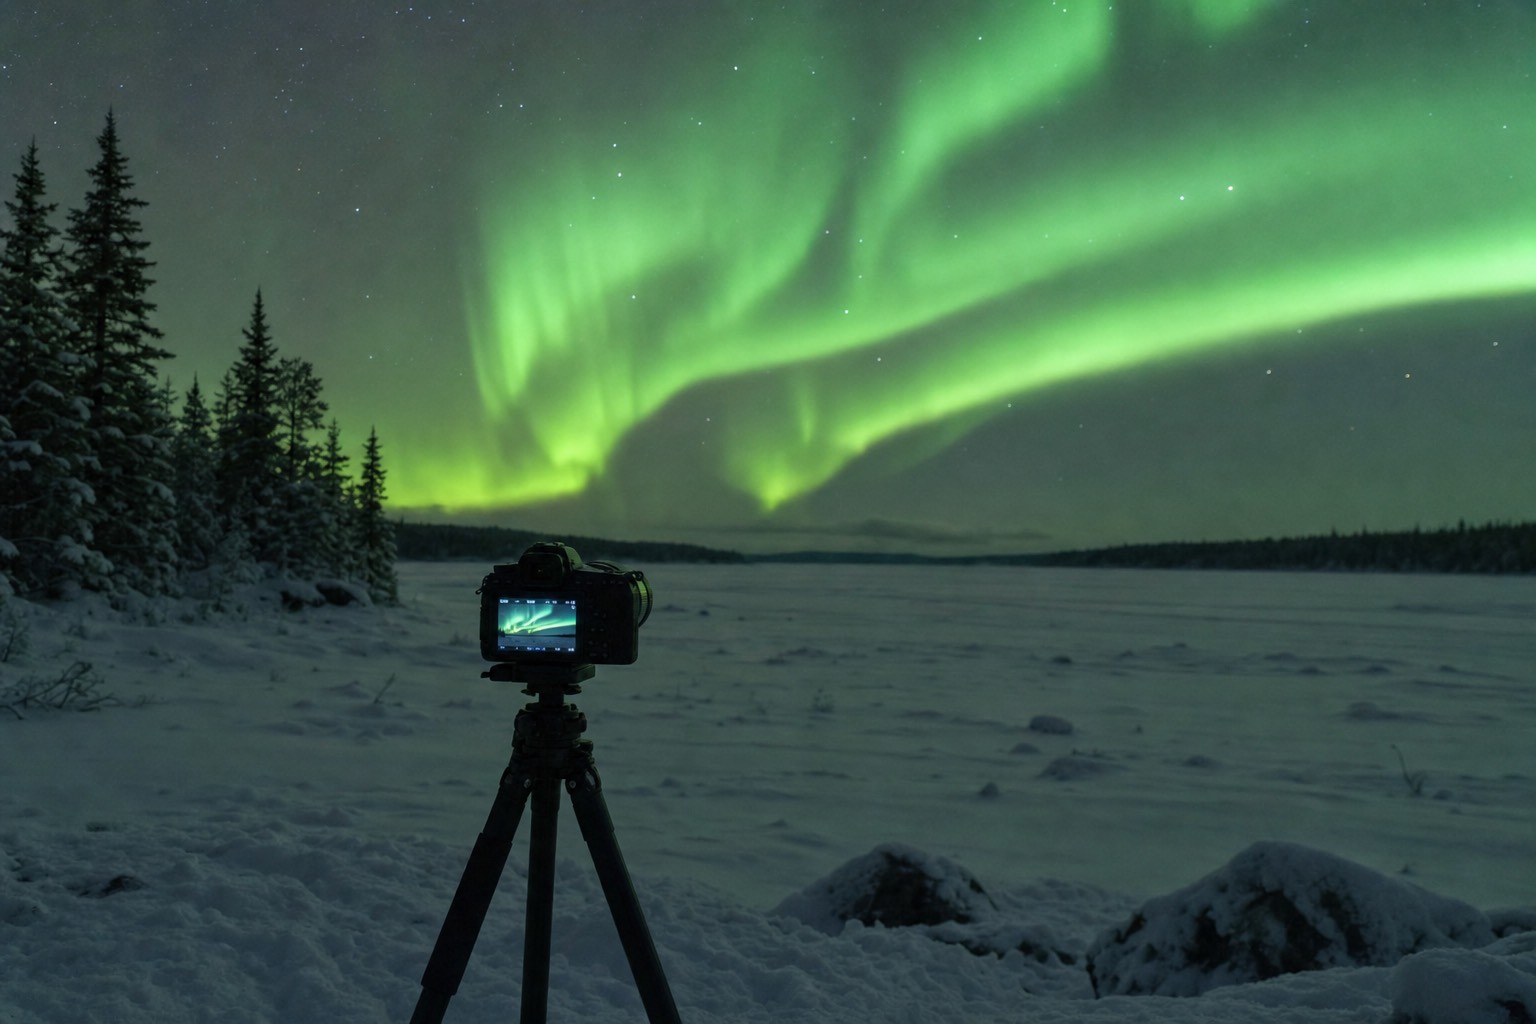
Short answer
Manual mode, tripod, aperture wide open, and a starting point of 10 seconds at ISO 3200 for a faint arc, dropping to about 5 seconds at ISO 800 to 1600 when the display turns bright and fast. Focus manually to infinity on the brightest star, shoot RAW, and fire on a 2-second timer. Then adjust from the frame you just took, not from a chart.
Somewhere around the third viewpoint of a busy night, a guest usually holds their camera screen up to me with a picture of a green blur and asks what they did wrong. Nine times out of ten the answer is one dial, not four. The sky sped up and their shutter did not. Aurora exposure is not a secret recipe, it is a short ladder you climb up and down as the display changes, and after a few hundred nights on the ice I can give you the whole ladder in numbers. The wider craft, where to stand, phones, composition on a flat lake horizon, lives in the full aurora photography guide. This page is the settings reference.
What camera settings should you start with for the northern lights?
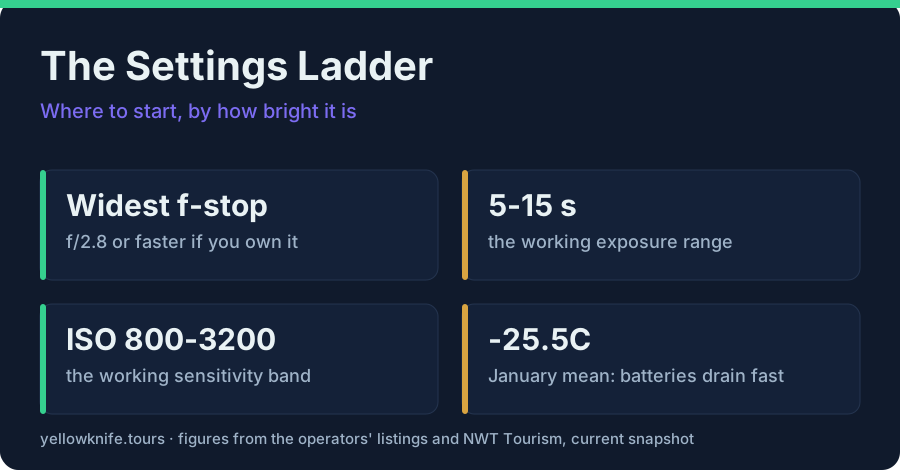
Manual mode, camera locked on a tripod, aperture as wide as your lens opens, ISO 800 to 3200, shutter 5 to 15 seconds, focus set manually to infinity. Faint aurora takes the long end of both ranges. Bright, fast aurora takes the short end. Start at 10 seconds, ISO 3200, wide open, then read the result and move.
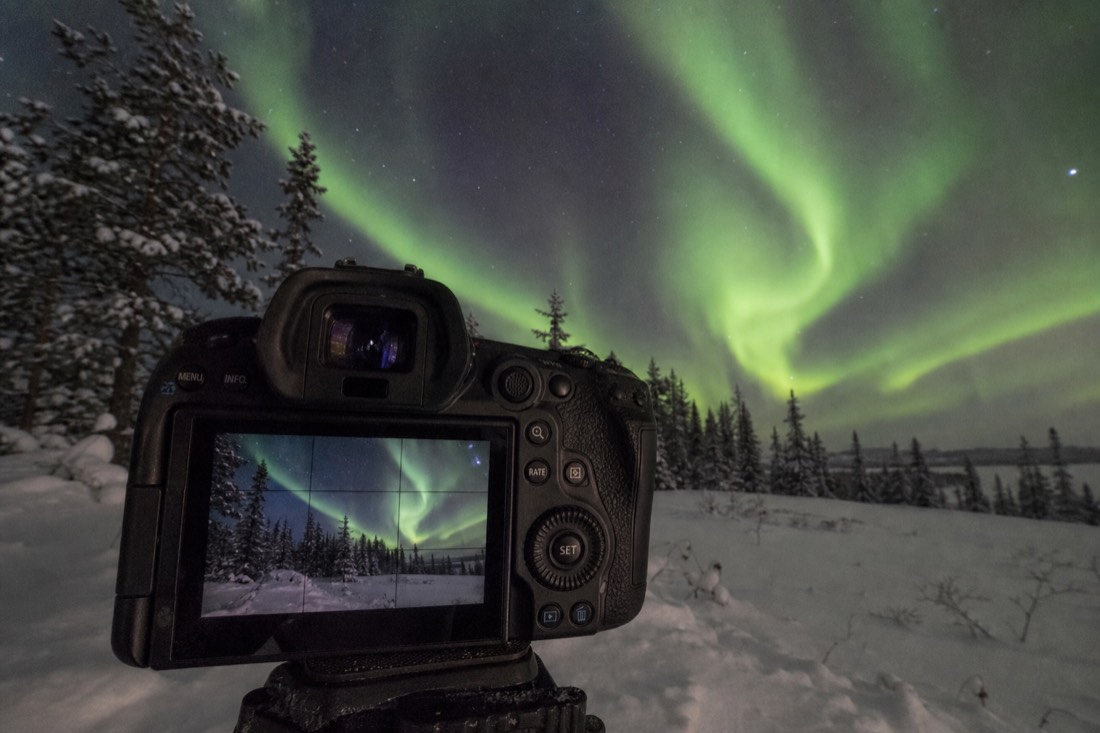
The single decision that drives everything else is how much the sky is moving. A slow, pale arc sitting across the north will hold still for fifteen seconds and reward you with colour your eyes never registered. A corona snapping overhead changes shape inside two seconds, so a fifteen-second frame averages all of that motion into flat green soup. Structure is the thing worth protecting, and shutter speed is what protects it.
Aperture is the least interesting dial because it barely moves: open it all the way and leave it there. If your lens reaches f/1.8 or f/2.8, wonderful, that light comes free and lets ISO stay lower. An f/4 kit lens still works here, you simply pay for it with ISO. This town's advantage is that aurora is often directly overhead rather than a smudge on the horizon, up to 240 nights a year according to NWT Tourism's numbers on the aurora, so you are usually exposing for a bright subject, not scraping for one.
| Display | Aperture | Shutter | ISO |
|---|---|---|---|
| Faint arc, barely visible to the naked eye | Wide open, f/2.8 or faster if you have it | 13 to 15 s | 3200 |
| Moderate band, clearly green, drifting slowly | Wide open | 8 to 12 s | 1600 to 3200 |
| Active curtains with visible movement | Wide open | 5 to 8 s | 1600 |
| Bright fast corona overhead | Wide open, or one stop down if blowing out | 2 to 5 s | 800 to 1600 |
| Bright aurora over moonlit snow | Wide open to one stop down | 5 to 8 s | 800 to 1600 |
Two settings you set once and forget: RAW, because aurora colour and white balance are far easier to fix on a laptop than on a freezing screen, and a 2-second timer so the press of your own finger stops shaking the frame. Auto white balance will wobble between frames on a changing sky, so park it around daylight and correct later.
How do you focus on the aurora in the dark?
Manually, on a star. Switch the lens to manual focus, aim at the brightest star or a distant light, magnify it on live view to maximum, and turn the ring until the point of light is at its smallest. Then tape or lock the ring so it cannot drift. Autofocus will hunt forever on a night sky.
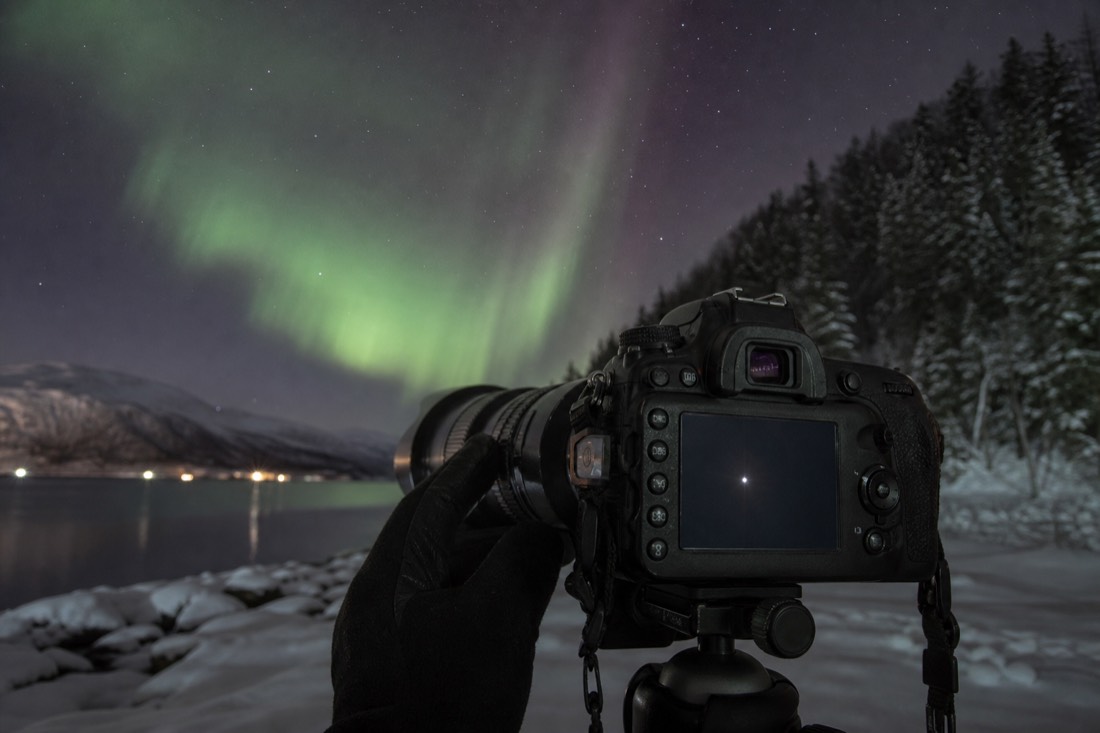
The infinity mark printed on a lens barrel is a rough guide, not a setting. Most modern lenses focus slightly past infinity, so trusting the mark is how people come home with two hundred frames of soft green haze. Do the star trick instead, and do it once, early, before your fingers stop cooperating.
Cold adds a wrinkle worth knowing. Lens barrels contract, gloved hands are clumsy, and a focus ring nudged in the dark costs you every frame after it. My habit is to check focus on the first frame of each new viewpoint by magnifying a star in playback, which takes ten seconds and has saved entire nights. If your lens creeps under its own weight when pointed up, a strip of tape across the ring solves it permanently.
Do the whole setup indoors or inside a warm van: mount the plate, dial the starting exposure, kill the screen brightness, set the timer. Outside, your only jobs are framing and firing.
Why does autofocus fail on the aurora, and what do you do instead?
Autofocus wants contrast and light, and a soft green curtain offers neither, so the lens racks back and forth and locks on nothing. Go manual, magnify a bright star in live view, shrink it to the smallest possible dot, lock the ring, then confirm sharpness at 100% on your first frame.
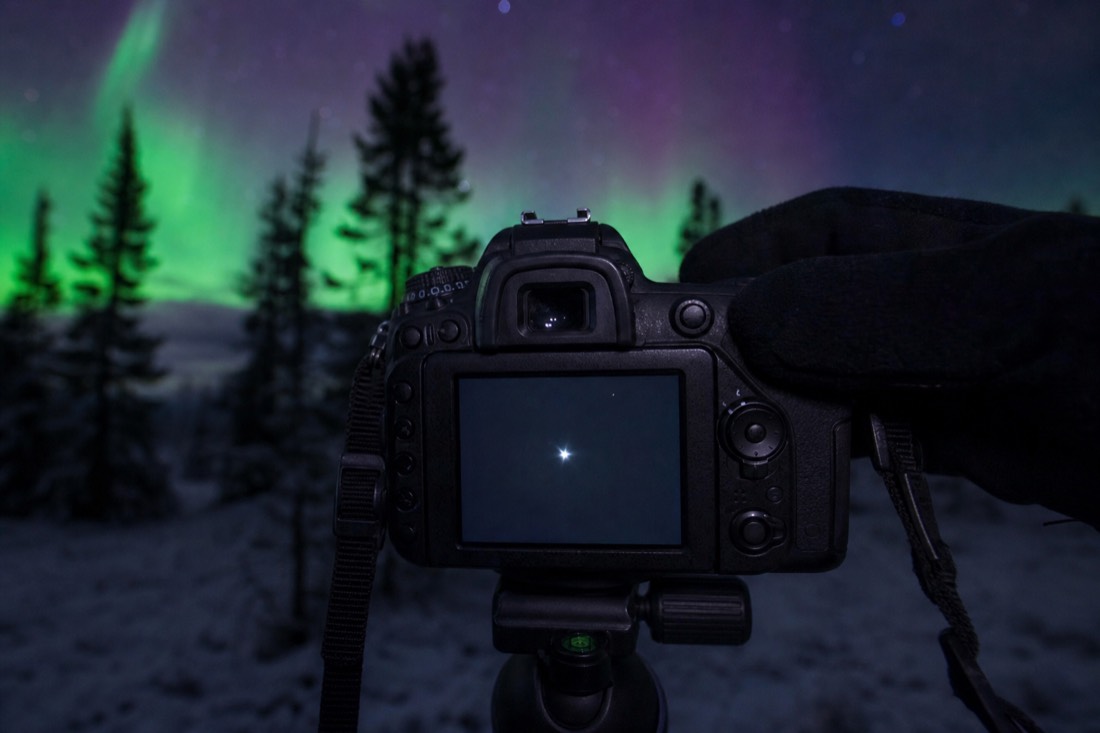
Understanding why the camera gives up helps you stop fighting it. Contrast-detection systems hunt for a hard edge to sharpen against, and aurora has no hard edges at all, only gradients. Phase-detection systems need more light than a night sky delivers. Some recent bodies will genuinely lock onto a bright star or a distant cabin light on a clear night, and if yours does, use it, then flick the lens to manual so nothing can steal that lock later.
| Step | What you do | How you know it worked |
|---|---|---|
| 1. Pick a target | The brightest star or planet, or a distant fixed light on the far shore | It reads as a point, not a smudge |
| 2. Kill autofocus | Switch the lens or body to manual focus | Half-pressing the shutter no longer moves the lens |
| 3. Magnify | Live view on, zoom the preview to its maximum on that point | The star fills a visible part of the screen |
| 4. Turn slowly | Rotate through the sharp point and back past it | The dot shrinks tight, then bloats again if you overshoot |
| 5. Lock the ring | Tape across the ring and barrel, or clamp it with a lens band | A brushing mitt no longer moves anything |
| 6. Verify on a frame | Shoot one, play it back, magnify to 100% on a star | Stars are pinpoints, not tiny doughnuts or commas |
Step six is the one people skip, and it is the one that saves nights. Judge focus on a star, never on the aurora, because a curtain looks slightly soft even when your focus is perfect. That is the subject, not the lens. Look at 100%, not at the fit-to-screen preview, which flatters everything and hides a miss you will only discover on a laptop at home.
Cold makes all of this drift. Metal contracts, focus rings stiffen and then let go with a jerk, and a lens pointed steeply upward can creep under its own weight. Ten seconds of magnified playback at each new viewpoint is the cheapest insurance in aurora photography. If your camera for the night is a phone, focusing works nothing like this, and shooting the aurora on a phone covers what actually applies.
What should you change when the shot comes out wrong?
Diagnose from the symptom. Too dark means raise ISO before lengthening shutter. Blurred bands mean the shutter is too long for the sky's speed. Noise means you are over-relying on ISO instead of aperture or shutter. Trailing stars mean the exposure has outrun your focal length. One change at a time, then reshoot.
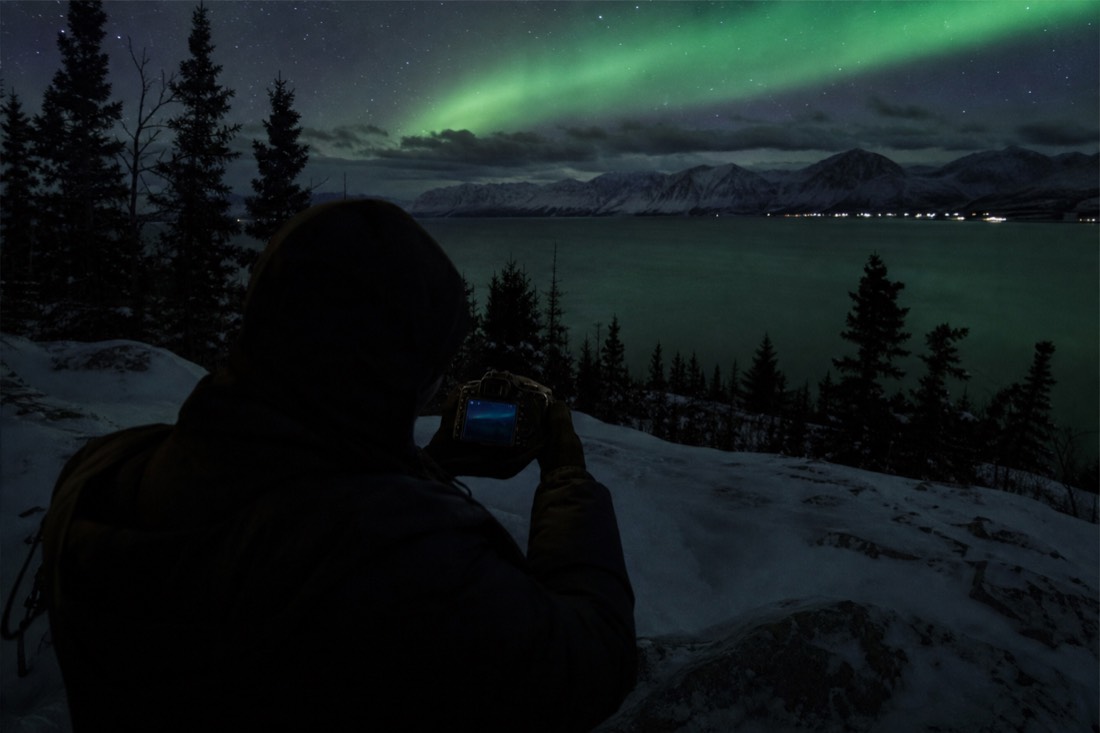
The temptation at minus 30 is to change three things at once and hope. Resist it. The whole point of a starting ladder is that you are never more than one dial from the right frame, and the histogram tells you which dial before your eyes can.
| What went wrong | Most likely cause | The fix |
|---|---|---|
| Frame too dark, aurora looks grey | ISO too low for a faint display | Raise ISO one stop, to 3200 if needed, before touching shutter |
| Green bands smeared into a smooth wash | Shutter too long for a moving display | Cut shutter to 5 s or less, raise ISO to compensate |
| Aurora blown out, no detail in the bright cores | Exposure too long on a bright display | Halve the shutter, then drop ISO toward 800 |
| Grainy, mushy noise across the sky | ISO carrying too much of the exposure | Open the aperture fully, add shutter time if the sky is slow |
| Stars stretched into short lines | Exposure longer than the focal length allows | Divide 500 by your focal length in mm for a rough second limit |
| Stars soft, aurora edges mushy everywhere | Focus drifted off infinity | Refocus on a bright star with magnified live view, lock the ring |
| Sharp sky, blurred everything on windy nights | Tripod moving, or shutter press shake | Weight the tripod, use the 2-second timer, drop the centre column |
The 500 rule is a rough tool, not physics: 500 divided by focal length gives you the seconds before star trailing shows. At 14mm that is about 35 seconds, comfortably beyond anything aurora wants. At 50mm it is 10 seconds, which is exactly why a wide lens makes aurora life easier. Wide also holds a corona that fills half the sky, which a longer lens simply cannot fit.
Does the moon change what settings you use?
Yes, though less than people fear. A bright moon lifts the ambient light, so drop ISO a stop and shorten the shutter to keep the snow from blowing out. Faint aurora suffers most and can wash out entirely. A strong display beats the moon regardless, and moonlight lights your foreground for free.
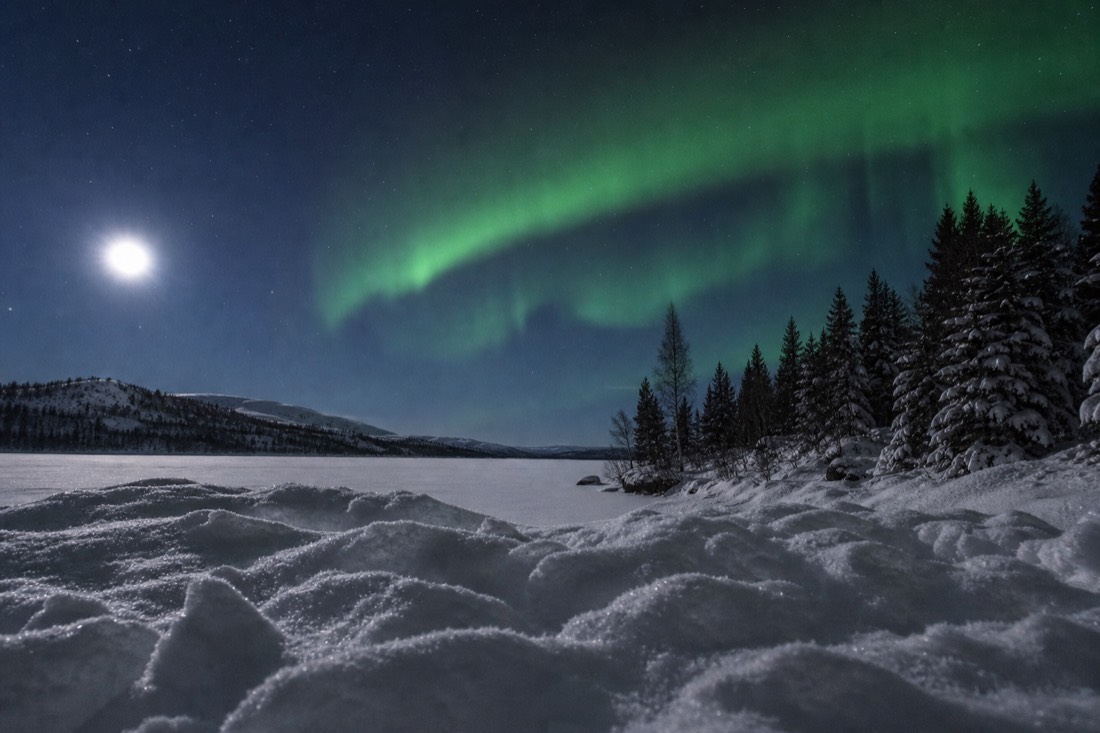
Photographers plan around the moon more than aurora watchers do, and that is the right instinct. Moonlight is a second light source in your frame, competing with the aurora for the sensor's attention. Under a full moon the snow reads almost like daylight in a long exposure, which either ruins the shot or makes it, depending on whether you meant it.
| Moon phase | What it does to the sky | Settings adjustment |
|---|---|---|
| New moon or barely lit | Darkest sky, faint aurora visible | Full ladder available, ISO up to 3200 |
| Quarter moon | Mild wash, foreground gets some light | Drop ISO about one stop, keep shutter as normal |
| Bright gibbous | Noticeable sky glow, faint arcs fade out | ISO 800 to 1600, shorten shutter by a third |
| Full moon | Snow reads bright, only strong displays cut through | ISO 800, shutter 5 to 8 s, expose for the snow |
My honest advice: do not rearrange a whole trip around lunar dates. Aurora here does not need a big geomagnetic storm to perform, since the town sits under the oval and low activity is often enough, and cloud decides more nights than the moon ever will. The seasonal planning that actually matters, darkness hours and month-by-month odds, is laid out in the best time to see the lights.
What does deep cold do to your camera and batteries?
Batteries are the casualty. Below minus 20 a fully charged battery can fade in a fraction of its normal life, and it happens without warning. Carry two or three spares in an inside pocket against your body, swap warm for cold as each one sags, and let the dead ones recover. Most revive completely once warm.
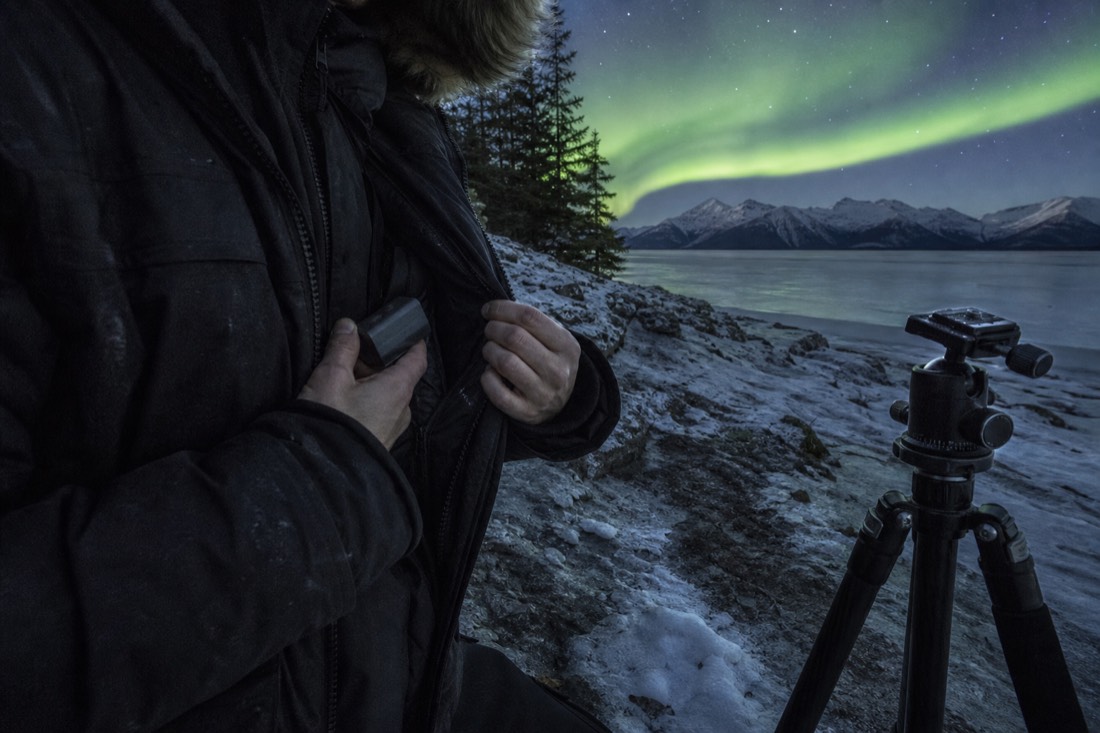
Yellowknife is an unusually honest test of gear. January nights average around minus 29, and hunts run through the coldest hours of the day, so a battery plan is not fussiness, it is the difference between shooting the whole display and watching the best part of it through a dead viewfinder. The exact temperatures you are working against are broken down in how cold it really gets here.
| Item | What the cold does | What to do about it |
|---|---|---|
| Camera batteries | Capacity drops hard below minus 20, often without a warning bar | Carry 2 to 3 spares warm in an inside pocket, rotate as they fade |
| "Dead" cold battery | Usually not dead, just chilled | Warm it against your body, it typically comes back |
| Camera body | Handles the cold better than its battery does | Leave it out; no need to shelter the body between frames |
| Tripod legs | Metal burns bare skin, locks stiffen | Liner gloves under mitts, foam leg wraps if you have them |
| LCD screen | Refreshes slowly and dims in extreme cold | Judge exposure by histogram, not by how the screen looks |
| Coming indoors | Warm air condenses inside a frozen camera | Bag the camera before entering, let it warm slowly, sealed |
| Your hands | The real limiting factor at minus 30 | Thin liners for dials, big mitts over them between shots |
The clothing side of this deserves its own attention, because aurora photography means standing still for an hour, and standing still is the coldest thing you can do outdoors here. Layering for exactly that problem, including where to rent a real parka in town, is covered in what to wear in a Yellowknife winter.
When during the night do these settings actually get used?
Roughly 10pm to 2am. Aurora activity at this latitude tends to peak near local midnight, which is why tours pick up around 9:30 to 10:30pm and return between 1:30 and 2:30am. Expect to climb your settings ladder several times inside that window as the display builds, breaks and rebuilds.
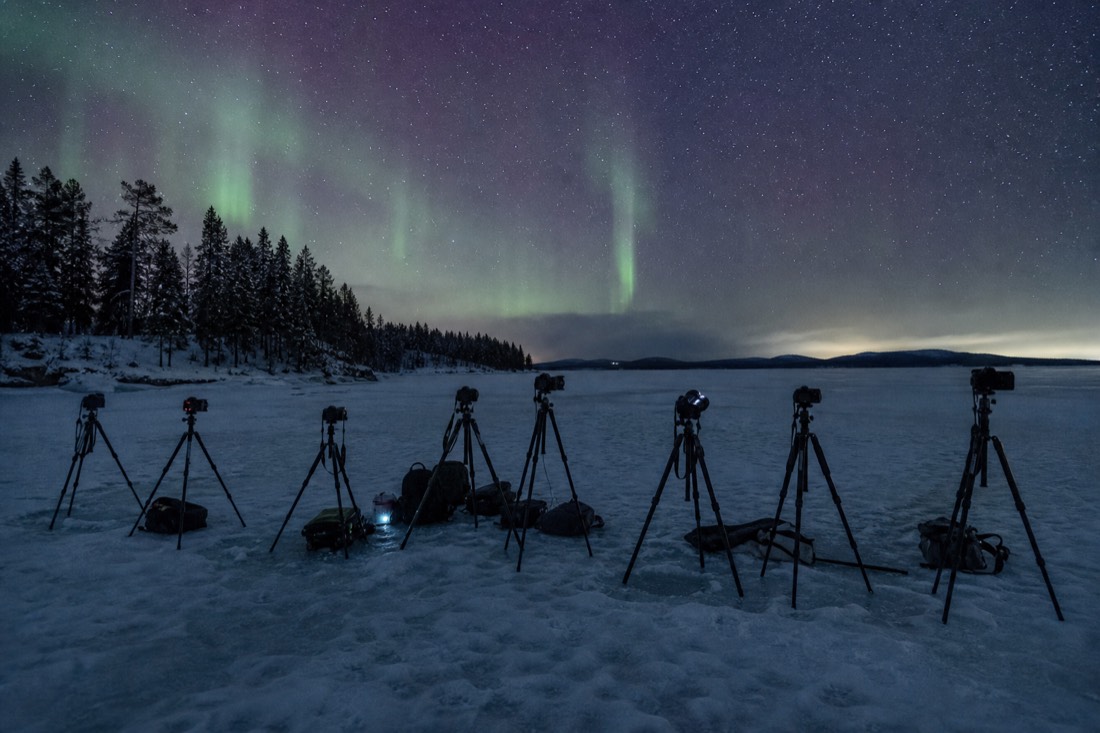
A typical shooting night is not one exposure setting held for four hours. It usually opens with a pale arc that needs the long end of the ladder, goes quiet for a while, then does something sudden and bright that demands you cut the shutter in half within seconds. Photographers who set one exposure and walk away miss the good ten minutes. Check a frame every few minutes and stay ready to move a dial fast.
Before heading out, look at cloud first and geomagnetic activity second, because cloud is what actually cancels nights here. For the aurora side, the dependable horizon is short: NOAA's 30-minute aurora forecast is the nowcast worth trusting, while multi-day outlooks are broad hints. And do not talk yourself out of a night on a quiet forecast; Space.com's read of the solar cycle puts activity firmly in the elevated post-peak years. What the hours between pickup and return actually feel like is in my account of a real hunt.
What white balance and file format should you shoot the aurora in?
Fix the white balance instead of leaving it on auto, and shoot RAW. A sky full of green confuses automatic white balance, so it drifts from frame to frame and your sequence comes home in three different colours. Somewhere around 3200K to 4000K is a sound starting point, and RAW lets you move it later for free.
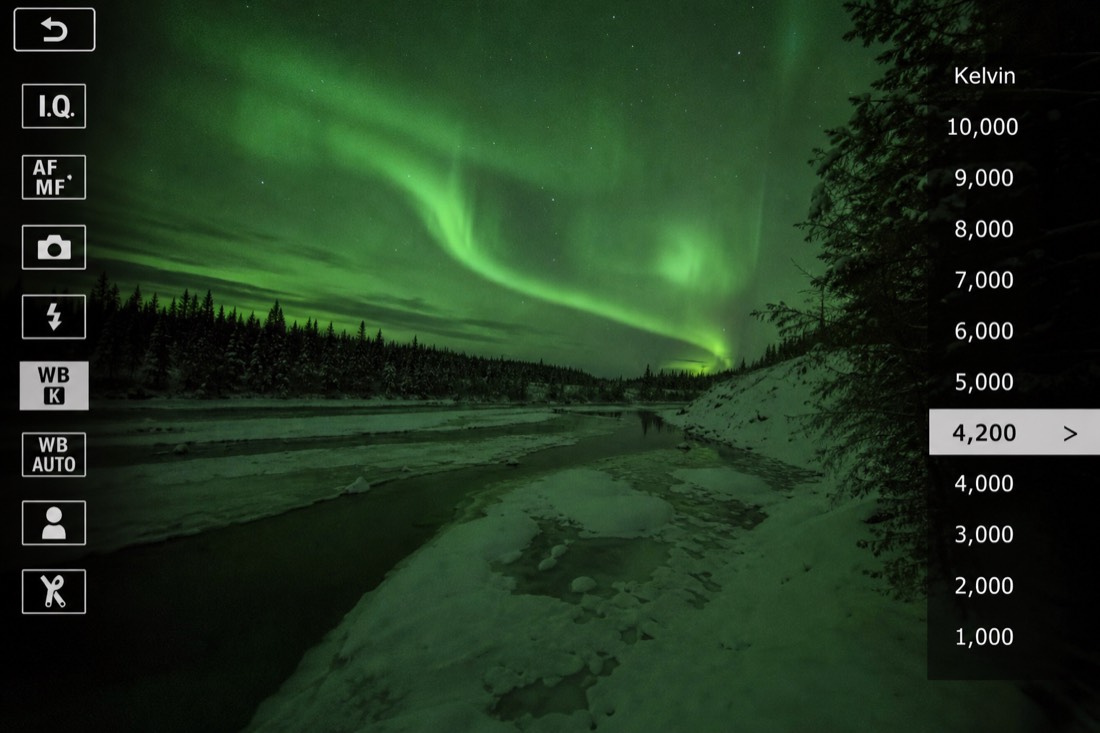
Automatic white balance is built on one assumption: that the average of a scene should come out neutral. An aurora sky is not neutral and never will be, so the camera keeps subtracting the green it sees and hands you a washed grey band where you watched a vivid one. Worse, the amount it subtracts changes as the display brightens, so two frames of the same curtain taken a minute apart do not match.
| Kelvin setting | How the frame reads | When to pick it |
|---|---|---|
| About 3000K | Deep blue night sky, green separating hard against it | Dark moonless skies, the classic aurora look |
| About 3500K | Blue sky held, snow close to neutral | A sensible all-round default here |
| About 4000K | Snow neutral, sky closer to grey-blue | Moonlit nights and frames with a lot of foreground snow |
| 4500 to 5000K | Warmer overall, town glow reads orange | Only when a warm light in the frame is part of the picture |
| Daylight preset, around 5500K | Warmest, green drifts toward yellow | Fine if you shoot RAW and intend to change it later |
| Auto | A different answer every frame | Avoid it on a sky whose colour keeps moving |
The format decision matters more than the Kelvin number, because RAW turns white balance from a commitment into a note attached to the file. Move 3200 to 4200 on a laptop and nothing is lost. A JPEG bakes the choice in, throws away most of the data behind it, and has already run noise reduction that smooths the faint ray structure you were trying to record. Push an underexposed JPEG shot at ISO 3200 and the smooth gradients aurora is made of come apart into visible steps. If you want something to post from the hotel at 3am, shoot RAW plus JPEG and keep both. RAW files eat cards fast at 5 to 15 seconds a frame, so bring a spare card and let it live in a warm pocket with the batteries.
One honest note about colour. Your eyes lose most of their colour sensitivity in the dark, so a display that looked pale grey-green to you often comes back solidly green on the file. The sensor is not inventing that. It gathers light for the full exposure while your eye keeps resetting. Autumn shooters get a second helping of this, since the lakes are still open water and the colour arrives twice, once in the sky and once in the reflection, which is part of why aurora season over open water in August and September is worth the milder end of the calendar.
Can you shoot an aurora time-lapse, and what does it take?
Yes, with the settings you already have: tripod, wide aperture, ISO 800 to 3200, 5 to 15 second exposures. What a time-lapse adds is arithmetic and power. At 24 frames a second, ten seconds of finished clip costs 240 frames, which means roughly half an hour to an hour of standing still without touching the camera.
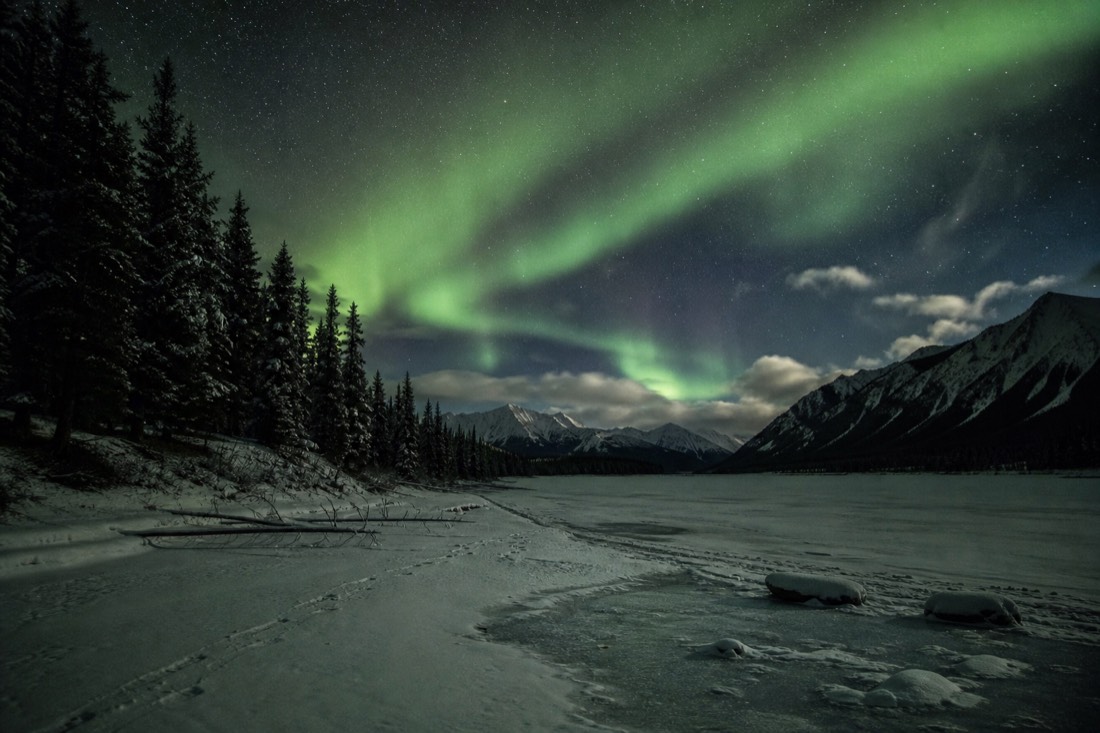
Everything must be manual: exposure, focus, white balance, all of it. Any setting left on automatic will make its own decision somewhere in the middle of the run, and that decision shows up as a flicker running through the finished clip. Set the interval to your exposure plus a second or two so the camera has time to write, start it, and then leave the tripod alone completely. Every accidental nudge becomes a jump on screen.
| Exposure plus gap | Frames per minute | Time for 240 frames, about 10 s of clip | Suits |
|---|---|---|---|
| 5 s + 1 s | 10 | About 24 minutes | Bright, fast displays |
| 8 s + 1 s | About 6.7 | About 36 minutes | Moderate green bands |
| 10 s + 2 s | 5 | About 48 minutes | Slow drifting arcs |
| 13 s + 2 s | 4 | About 60 minutes | Faint arcs shot at ISO 3200 |
| 15 s + 2 s | About 3.5 | About 68 minutes | The faintest sky, and rarely worth the hour |
Power is where northern time-lapses fall over. With January's daily mean sitting near minus 25.5, a battery that would run all evening in a warm room can sag well inside that hour, and swapping it mid-sequence puts a gap in the clip. Either accept the gap and shoot two shorter sequences, or run the camera off an external pack carried inside your jacket with the cable up through a sleeve. The other cost is opportunity: for the length of the run, that camera is doing one thing only. On a hunt that moves between three viewpoints, an hour-long sequence and a van about to leave will not agree, which is why time-lapse work suits a night where you stay put, at a lodge or on a cabin stay, rather than a chase.
Real-time video is the harder ask. It needs very fast glass and a body that stays usable at high ISO in movie mode, and even then a faint arc simply will not register the way it does in a still. A strong, fast display can be filmed, and it is spectacular when it works, but most visitors get a far better clip out of a time-lapse. Before committing an hour of your night to either, check cloud and the short-range nowcast, since the sky closing over is what usually ends a sequence, and the tools worth trusting are laid out in the Yellowknife aurora forecast guide. Run your sequence inside the 10pm to 2am window if you can, and if the moon is up, take the free foreground light and let it work for you.
What if you would rather not touch the dials at all?
Book the hunt that brings a professional photographer. The flagship four-hour aurora hunt carries a pro across three viewpoints, shoots the display and the guests, and sends the photos free, the same night. You watch with your hands inside your mitts and still fly home with proof.
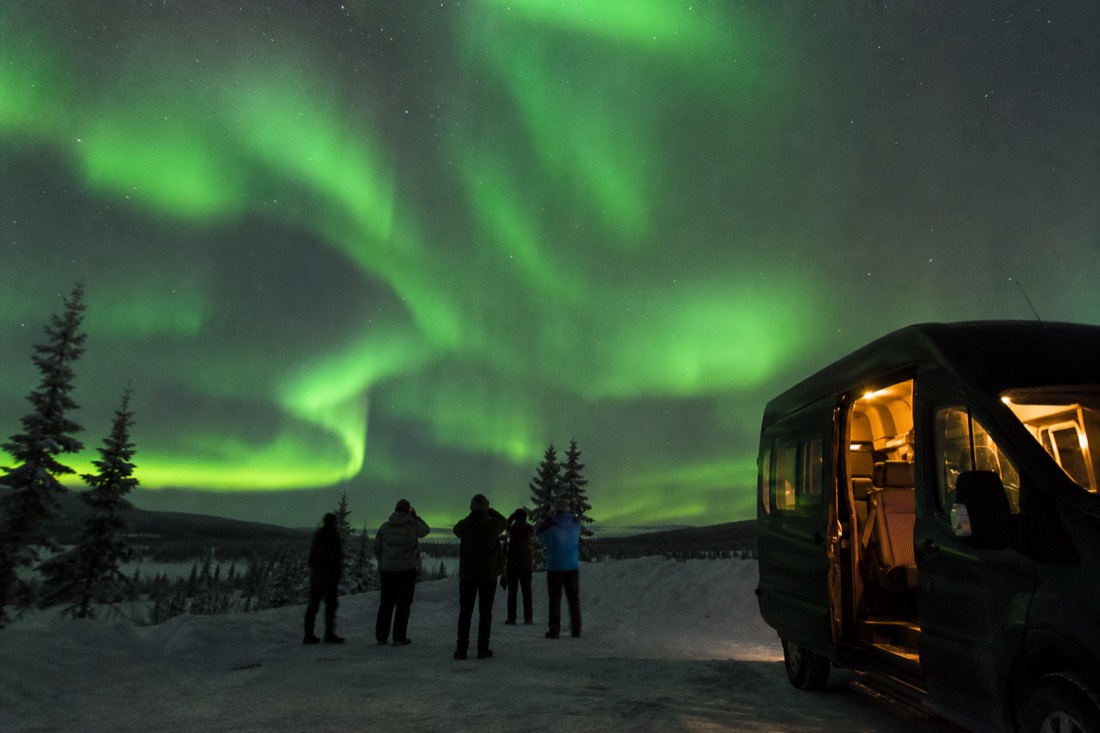
I say this with no snobbery at all: some of the most satisfied people I take out are the ones who decided in advance not to be photographers that night. It is also the cheapest photography lesson in the territory, because you can stand beside a professional, watch which settings they change when the sky accelerates, and try the same on your own body between their shots. The hunt runs four hours with a maximum of sixteen guests and hotel pickup, rated 4.8 across 399 reviews, with cookies and hot drinks between viewpoints. Compare the northern lights tours side by side, or check live availability and prices on Viator for the hunt with the photographer aboard.
One last piece of advice that has nothing to do with dials. Once you have your frames, and you will know when you have them, stop shooting. Step back from the tripod and look up with your own eyes for a few minutes while the curtains are still moving. The files go home with you either way. The feeling of standing under a live corona at minus 30 does not save to a card.